

Navigating Norway's Arctic: Connectivity Challenges
Spending a few months hopping between Tromsø, Bodø, and some of the smaller fjord communities in Northern Norway taught me one thing: connectivity is not a given. Unlike city centers where every café has reliable Wi-Fi, once you're out on a ferry through the Lyngen Alps or tucked away in a cabin near Senja, your phone can quickly become a very expensive paperweight. The sheer vastness of the landscape means infrastructure is sparse, and even major carriers struggle to blanket every cove and mountain pass.
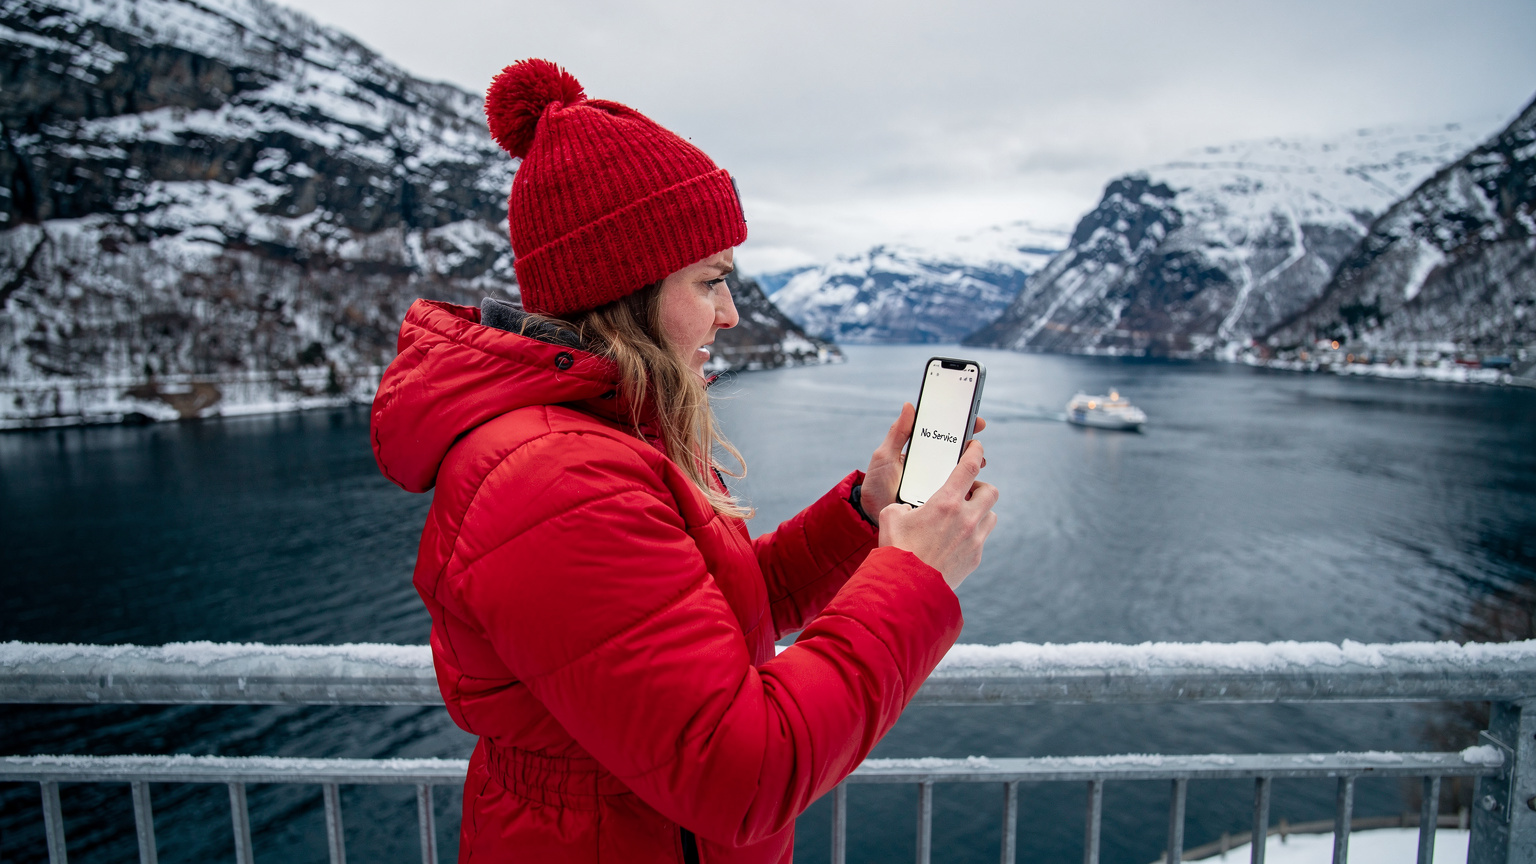
My first trip up north, I made the mistake of relying on my home carrier's roaming package. The bill was eye-watering, and the service was patchy at best. I spent more time staring at 'No Service' than actually checking weather updates or coordinating with my hiking group. You might find decent speeds in a co-working space like the Smart Innovation Norway hub in Halden, but that's miles from the Arctic. The reality in the Arctic is different. When you're dependent on a reliable signal for navigation apps like Norgeskart or communicating with tour operators, you quickly learn that 'good enough' doesn't cut it. This isn't like a quick hop to Copenhagen for Jazz Festival where dense urban networks are everywhere. Here, you're truly off the beaten path.
The terrain itself plays a huge role. Deep fjords create natural signal shadows, and the distance between towns means fewer cell towers. This is compounded by the harsh weather conditions, which can impact signal strength. For anyone planning serious trekking or kayaking expeditions, having a consistent connection isn't just a convenience, it's a safety net. Trust me, you don't want to be caught without a way to reach help when the weather turns.
The Myth of Free Wi-Fi in Remote Areas
Sure, you'll find Wi-Fi in hotels and some guesthouses, but it's often slow, unreliable, and limited to common areas. Trying to upload expedition photos or video call family from a shared lobby connection at 10 PM after a long day of hiking is a recipe for frustration. And good luck finding it on a remote campsite or a fishing village with a population of 50. Most of the time, I'd rely on my eSIM even in small towns because the local Wi-Fi was simply not up to scratch for anything more than basic email. This isn't the Maldives where private island resorts boast fiber optic. Prepare for dial-up speeds if you're not careful.
Roaming Nightmares and Local SIM Hassles
I've seen countless travelers stuck at Oslo Gardermoen trying to figure out how to buy a local SIM, only to find the options confusing and expensive for short stays. For longer trips, getting a local SIM might seem appealing, but it often involves registering with a Norwegian ID, a process that can be a bureaucratic headache for temporary visitors. Plus, what do you do with your home SIM card? Juggling multiple physical cards in freezing temperatures with numb fingers is not my idea of fun. My rule of thumb: if a country's banks require local numbers for two-factor authentication (like some Brazilian or Indian apps), then a physical SIM might be necessary for long-term residency, but for travel, it's a pain.
Why eSIMs Are the Only Sane Option for Remote Norway
This is where eSIMs shine, especially in a place like Norway's Arctic. They eliminate the physical SIM card swap, meaning you can activate a local data plan before you even land. No more hunting for obscure kiosks in small airports or dealing with language barriers when you're just trying to get online. The convenience alone is worth it, but the real benefit is the flexibility and coverage. You can switch between different data plans or even carriers if one isn't performing well in a particular area, all from your phone's settings.
I've used eSIMs across various remote locations, from the high deserts to deep fjords, and the ability to maintain my primary number for calls and texts while using an eSIM for data is invaluable. It means my WhatsApp contacts still reach me, and critical banking apps tied to my home number remain accessible. Plus, for those of us who live out of a backpack, one less tiny piece of plastic to lose is a blessing.
Multi-Carrier Advantages in Sparse Networks
In Norway, the main carriers are Telenor and Telia. While both offer decent coverage, there will always be dead zones. A good eSIM provider often partners with multiple local networks, giving you access to the strongest signal available. This is crucial in the Arctic, where a few kilometers can mean the difference between 4G and no signal at all. Imagine you're trying to find your way back to your cabin in Lofoten, and suddenly Telia drops out. If your eSIM automatically switches to Telenor, you're still connected. This multi-carrier reliability is a feature I've come to depend on, similar to how multi-carrier eSIMs are becoming standard for business travelers who absolutely cannot afford downtime.
Cost Efficiency Compared to Roaming or Local SIMs
Let's be blunt: roaming in Norway is expensive. A week of casual browsing and navigation could easily run you 1000 NOK (around $95 USD) or more with a traditional roaming plan. Local SIMs, while cheaper, often require a commitment you might not want for a two-week trip, and you still have the hassle of acquisition and activation. An eSIM data package for Norway can cost significantly less, with options for 10GB for 30 days around 250-400 NOK ($25-40 USD), depending on the provider and current exchange rates. When I was based in Tromsø for a month, paying 12,000 NOK (roughly $1,150 USD) for a small studio in the city center, every saved krone on connectivity felt like a win.
Picking the Right eSIM for Norway's Fjords and Arctic
Choosing an eSIM for Norway isn't just about the cheapest gigabyte. It's about reliability, coverage, and the right data package for your specific adventure. Are you just checking emails from a heated cabin, or are you live-tracking your progress on a multi-day ski tour? Your needs will dictate your choice.
Data Package Sizes and Duration: What Do You Really Need?
- Light usage (1-3 GB for 7-15 days): Ideal for checking maps, light social media, and essential communication. Good for short city breaks or if you mostly rely on Wi-Fi where available.
- Moderate usage (5-10 GB for 15-30 days): My go-to for most trips. Enough for daily navigation, streaming music on long drives, occasional video calls, and staying on top of work if needed. This is what I'd recommend for a two-week fjord cruise or a solid week of hiking.
- Heavy usage (15-30+ GB for 30 days): If you're planning a longer stay, working remotely, or frequently uploading large files (like drone footage), you'll want a larger package. Remember, high-resolution photos and videos eat data quickly.
Always consider how long you'll be in Norway. Some eSIMs offer shorter durations at a lower per-GB cost, but it can be more cost-effective to buy a larger package if you're staying for several weeks, especially if it's a country-specific plan like the ones you'd find at esimAdventures Norway.
Comparing eSIM Providers for Norwegian Coverage
When I'm comparing eSIM providers for Norway, I look for explicit mention of Telenor and Telia network access. These are the giants, and anything less means you're gambling with your signal. Pay attention to reviews specifically mentioning coverage in northern regions or rural areas, not just Oslo. It's easy for a provider to claim 'nationwide' coverage when they're really only strong in urban centers.
| Provider Feature | Best For Remote Norway | Less Ideal for Remote Norway |
|---|---|---|
| Network Access | Dual-carrier (Telenor & Telia) or Strongest Single Carrier | Lesser-known MVNOs, single carrier without specified coverage |
| Data Packages | Flexible duration (7-30 days), 5GB+ options | Very short durations, tiny data caps (e.g., 1GB for 3 days) |
| Activation Process | QR code or direct app installation, clear instructions | Complex manual setup, unclear support |
| Pricing (per GB) | Competitive for larger plans (e.g., $3-5/GB for 10GB+) | Over $10/GB for any plan size |
| Top-Up Options | Easy in-app top-ups, varied package sizes | No top-ups, limited options, complex process |
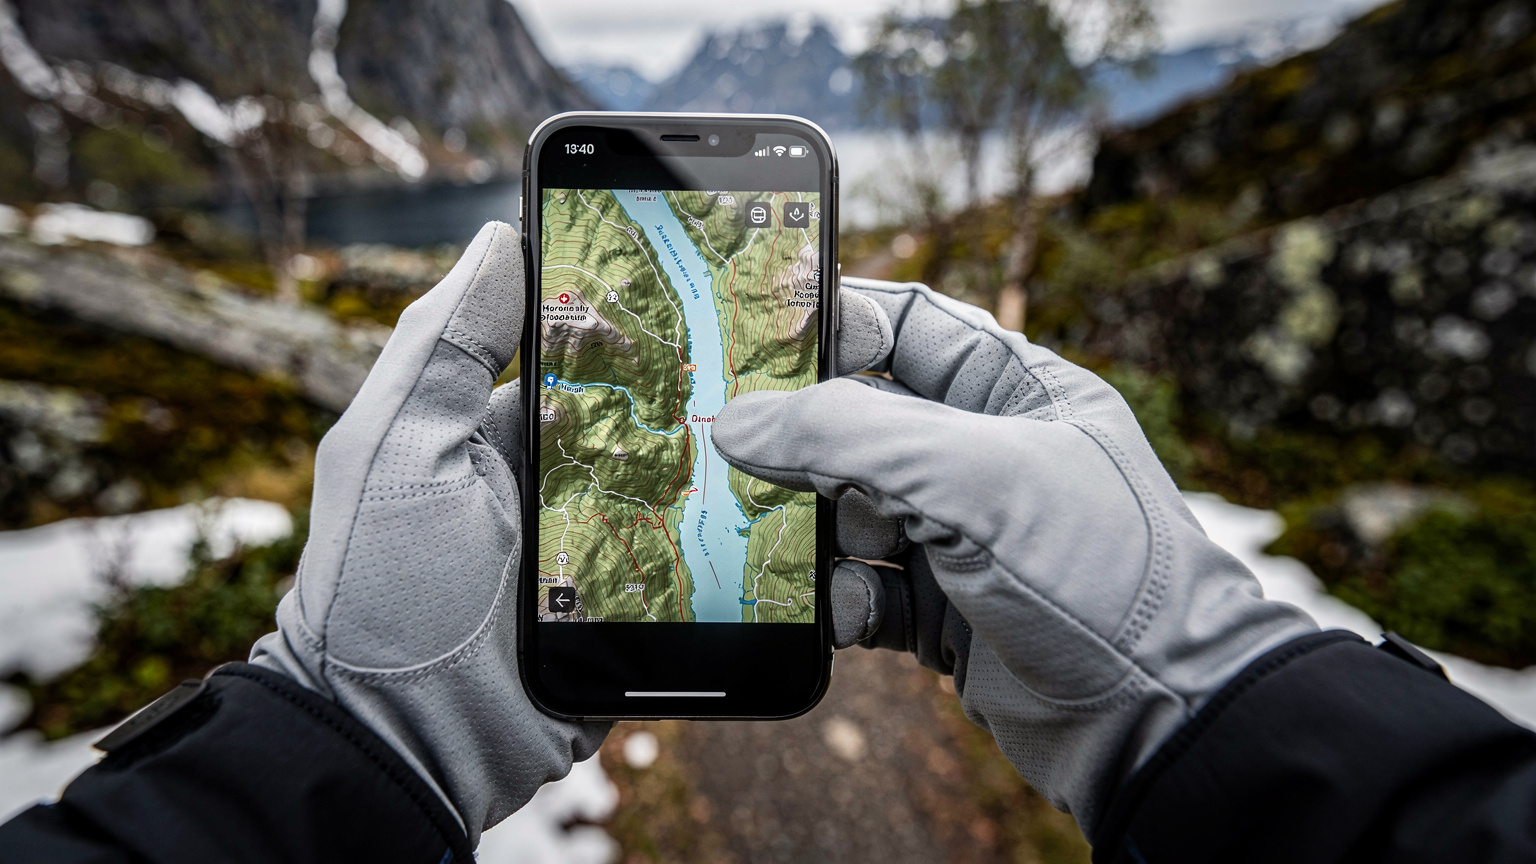
Real-World Connectivity in Norway: What to Expect, Where
Expectation management is key when traveling in the Arctic. While eSIMs drastically improve your chances of staying connected, even the best technology can't conjure a signal out of thin air if there's truly no infrastructure. However, knowing where you're likely to get service helps you plan your digital detox moments (or frantic signal searches).
City Centers vs. Remote Outposts
In major hubs like Tromsø, Bodø, or even Alta, you'll generally find excellent 4G/5G coverage, comparable to any modern European city. Download speeds can easily hit 100-200 Mbps. Cafés like Kaffebønner in Tromsø or Craigs Café in Bodø offer free Wi-Fi, but your eSIM will be faster and more reliable. However, venture a couple of hours outside these towns, and things change. Small villages, especially those nestled deep within fjords, might only have 3G, or even just patchy 2G. On the open sea or deep in the mountains, 'No Service' is a common sight. This isn't a failure of your eSIM, it's a reality of the geography. Always download offline maps and critical documents before heading into truly remote areas.
Ferries and Coastal Routes: Staying Online at Sea
Many fjord expeditions involve ferries, whether it's the iconic Hurtigruten or smaller local services. On larger vessels, you'll often find onboard Wi-Fi, but it's notoriously slow and expensive. Your eSIM will generally pick up a signal along the coastlines, especially when the ferry is within sight of land. As you cross wider stretches of open water or enter deep, narrow fjords, the signal will likely drop. I've found that the best connectivity on ferries is usually near the bow or stern, on the upper decks. Keep an eye on your signal bars, and if you need to make an important call, do it when you're close to a populated area.
Arctic Expedition Specifics: Tales from the Trail
I've been on expeditions where the only reliable signal for miles was at a specific rock outcropping known to local guides. Seriously. On a multi-day trek through the Senja mountains, we'd occasionally get a brief burst of 4G near a mountain pass, just enough to send a quick 'all clear' message to base camp. This isn't Tokyo, where streaming high-definition events is possible on every corner. For serious Arctic adventures, a satellite communicator is still the gold standard for emergency communication, but an eSIM significantly improves your day-to-day connectivity for everything else. Always carry a power bank, as cold temperatures drain phone batteries faster than you'd expect.
Setup and Activation: Getting Your eSIM Ready for the Cold
Getting your eSIM up and running is typically straightforward, but a little preparation goes a long way, especially when you're dealing with the cold and potentially limited Wi-Fi upon arrival. Don't wait until you're trying to navigate out of Tromsø airport with freezing fingers to activate it.
Pre-Departure Activation vs. On-Arrival
My advice? Activate your eSIM before you leave home, or at least while you still have strong, free Wi-Fi, say at the airport lounge. Most eSIMs activate by scanning a QR code or through a provider's app. Doing this when you're relaxed and have internet access minimizes stress. Once activated, you can simply switch to the eSIM line when you land in Norway. This ensures you're connected the moment you step off the plane, ready to order a taxi or check your hotel booking without scrambling for Wi-Fi. It's a lifesaver, especially after a long flight where you're already disoriented.
Step-by-Step eSIM Installation
This process is generally consistent across most modern smartphones (iPhone 11+, Samsung Galaxy S20+, Google Pixel 3+). If you're unsure, check the esimAdventures FAQ for device-specific instructions.
- Purchase your eSIM: Select a data package for Norway that fits your travel duration and usage needs. You'll usually receive an email with a QR code or activation link.
- Ensure Wi-Fi connection: Before you start, make sure your phone is connected to a stable Wi-Fi network (this is crucial for downloading the eSIM profile).
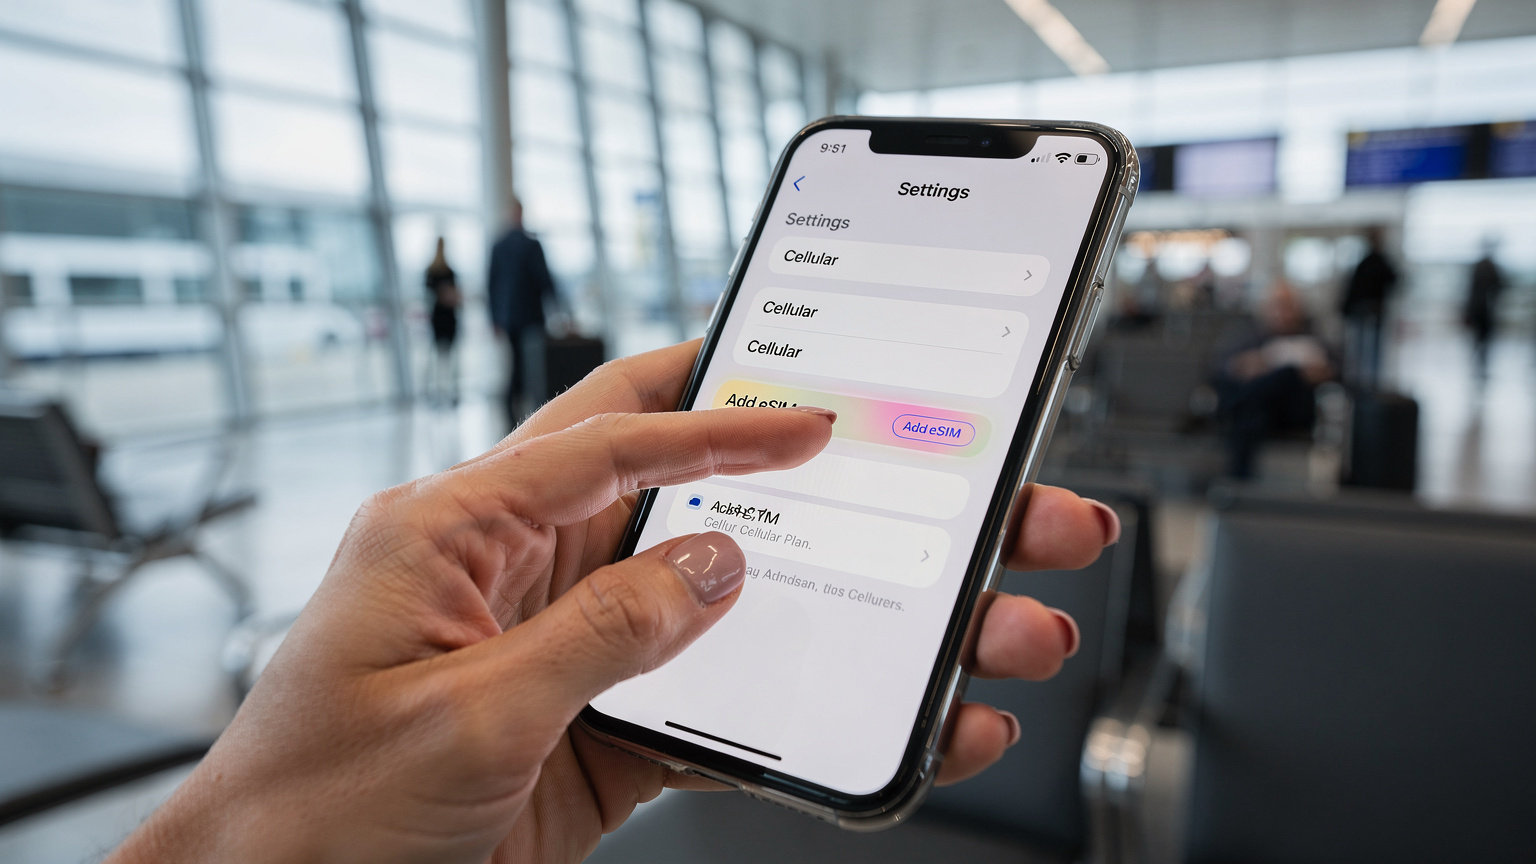
- Access eSIM settings: For iPhones, go to Settings > Cellular (or Mobile Data) > Add eSIM. For Android, it's usually Settings > Network & Internet > Mobile network > Add eSIM.
- Scan QR code or enter details: Use your phone's camera to scan the QR code provided by your eSIM provider. If a QR code isn't an option, you might need to manually enter activation details.
- Label your eSIM: Give your new eSIM a clear label, like 'Norway Data' or 'Arctic eSIM', to easily distinguish it from your primary line.
- Set as primary for data: Once installed, go to your Cellular/Mobile Data settings and set your new eSIM as the primary line for mobile data. Ensure your primary SIM (your home number) is still active for calls/texts if you wish to receive them (but turn off data roaming for it!).
- Test connection: Once you land in Norway, disable Wi-Fi and check if your data connection is working. Open a browser or a map app.
Managing Data and Battery Life in Extreme Conditions
The Arctic environment is tough on electronics. Cold temperatures drain batteries faster, and constant signal searching can be a major power hog. Smart data and power management are non-negotiable if you want your phone to last an entire day on a fjord expedition.
Battery Conservation Tips for the Cold
This is where my 'off-grid' experience kicks in. In sub-zero temperatures, a phone battery can drop from 100% to 20% in a few hours if left exposed. Always keep your phone close to your body, in an inner pocket, or in a well-insulated pouch. Invest in a high-capacity power bank (at least 10,000 mAh) and keep that insulated too. Turn off unnecessary background app refresh, push notifications, and location services for apps you're not actively using. Dim your screen brightness. When you absolutely don't need data, switch your phone to airplane mode. It sounds basic, but these small actions make a huge difference. I've seen too many phones die mid-hike, leaving people without maps or emergency contact.
Data Saving Strategies for Limited Plans
Even with a generous eSIM plan, data can vanish quickly if you're not careful. This is especially true if you're uploading high-resolution photos or doing video calls. Here's how I stretch my data:
- Download maps offline: Crucial for Norway. Google Maps, Maps.me, or Norgeskart all allow you to download entire regions for offline navigation. Do this before you leave your hotel or a strong Wi-Fi zone.
- Limit streaming: Avoid streaming video (Netflix, YouTube) or high-quality audio (Spotify) on mobile data. Download content beforehand.
- Disable automatic updates: Turn off app updates and cloud backups over mobile data.
- Use data compression browsers: Browsers like Opera Mini can compress web traffic, saving data.
- Monitor usage: Regularly check your phone's data usage settings to see which apps are consuming the most data. Most eSIM apps also provide real-time usage tracking.
Emergency Preparedness and Staying Safe in the Arctic
Connectivity in the Arctic isn't just about Instagramming the Northern Lights; it's about safety. While an eSIM is a fantastic tool, it's part of a larger safety strategy, not a replacement for common sense or proper gear. Think of it as a crucial layer of your emergency kit.
Emergency Numbers and Local Protocols
In Norway, the general emergency number is 112 for police, 110 for fire, and 113 for ambulance. These numbers will work even if you don't have an active data plan or credit, as long as you have any network signal. However, for non-emergency situations, or if you need to coordinate with rescue services, having an active eSIM for data and calls (if your plan includes it) is invaluable. Make sure your phone's emergency contact information is up-to-date and easily accessible. When you're in truly remote areas, particularly on multi-day treks, consider carrying a personal locator beacon (PLB) or a satellite messenger like a Garmin inReach. These devices communicate via satellite, providing a lifeline when mobile networks are completely out of reach.
Sharing Your Location with Trusted Contacts
Before heading out on an expedition, always inform someone of your plans, your route, and your expected return time. Use apps like WhatsApp or Google Maps to share your live location with a trusted contact. Many hiking apps also have built-in safety features for sharing your progress. While this relies on having a signal, it's a good practice when you do. For example, if you're exploring the trails around Svolvær in Lofoten, make sure someone knows your intended path and estimated duration. The Norwegian Trekking Association (DNT) also offers excellent resources and often has cabins in remote areas where you might find limited connectivity.
Visa Limitations and Digital Nomad Life in Norway
As a long-stay nomad, I've learned that visa rules are the ultimate boss. Norway is part of the Schengen Area, which means most non-EU citizens can only stay for 90 days within any 180-day period. This is a hard limit and something to factor into your travel plans. While you might be able to extend a trip to Italy or Germany with less scrutiny, Norway, like many Nordic countries, enforces its immigration rules strictly. Don't overstay, it's not worth the hassle or potential future travel bans.
For those looking to actually live and work in Norway for an extended period, the situation is more complex. You'd need a specific work permit or a digital nomad visa if one becomes available (they're still rare for non-EU citizens in Norway). Simply relying on tourist visas and an eSIM won't cut it. Your cost of living will also be a major factor. Rent for a decent apartment in Oslo starts around 12,000-18,000 NOK ($1,150-$1,700 USD) per month, and even in smaller cities like Tromsø, a one-bedroom can easily be 10,000 NOK ($950 USD). Groceries are expensive, and eating out is a luxury. My daily budget was closer to 500-700 NOK ($45-65 USD) just for basic food and transport when I was living there for a month.
| Category | Oslo (Approx. Monthly) | Tromsø (Approx. Monthly) | Rural Arctic (Approx. Monthly) |
|---|---|---|---|
| Rent (1-bedroom) | 14,000 NOK ($1,350) | 10,000 NOK ($950) | 8,000 NOK ($760) |
| Groceries | 4,000 NOK ($380) | 3,500 NOK ($330) | 3,000 NOK ($280) |
| Utilities (Electricity, Internet) | 1,500 NOK ($140) | 1,300 NOK ($120) | 1,000 NOK ($95) |
| Transport (Monthly Pass) | 800 NOK ($75) | 600 NOK ($55) | Varies (less public transport) |
| Total Estimated Cost | 20,300 NOK ($1,945) | 15,400 NOK ($1,475) | 12,000 NOK ($1,150) |
So, while an eSIM makes staying connected easy, it doesn't solve the long-term logistical or financial challenges of living in Norway. Always respect the visa rules and plan accordingly. (And yes, I ate a lot of frozen pizza to keep my grocery budget down.)

Beyond the Fjords: Using Your eSIM for Other Nordic Adventures
The beauty of a regional or global eSIM is its versatility. If your Norwegian adventure is part of a larger Nordic tour, a multi-country eSIM package can save you from buying separate plans for each country. Many providers offer Nordic or European plans that cover Norway, Sweden, Denmark, and Finland.
Nordic eSIM Packages: Value and Convenience
If you're planning to hop across borders, say, from Tromsø to Rovaniemi, Finland, or taking a ferry to Sweden, a regional eSIM makes perfect sense. These packages are designed for seamless transitions, eliminating the need to activate a new plan every time you enter a new country. They often provide excellent value, especially if you're spending more than a week in the region. Think of it as a cruise-friendly eSIM, but for land and sea journeys across Northern Europe.
What to Look for in a Regional eSIM
When selecting a regional eSIM, confirm which specific countries are included and whether the coverage in those countries is robust. Some 'Europe' plans might have weaker coverage in Nordic countries compared to a dedicated regional Nordic plan. Always check the fine print for data limits, duration, and any speed caps. My advice: prioritize plans that leverage major local carriers in each country, not just one overarching partner. The quality of network access across multiple borders can vary significantly, and you want to ensure the same reliability you seek in Norway extends to your other destinations.
Final Thoughts on Your Norwegian Arctic Expedition
Exploring Norway's Arctic Circle and its breathtaking fjords is an unforgettable experience. It's a place that demands respect, preparation, and the right tools. While the allure of 'disconnecting' is strong, the practical realities of travel, navigation, and safety mean that reliable connectivity is more of a necessity than a luxury. An eSIM is, without a doubt, the smartest way to ensure you stay online, whether you're checking the weather forecast before a hike, confirming ferry times, or simply sharing a stunning photo of the Northern Lights with friends and family.
Don't let connectivity be a source of stress on your trip. Plan ahead, choose a robust eSIM package, and embrace the adventure, knowing you have a reliable link to the outside world when you need it most. And remember, those moments of truly being 'off the grid' are best enjoyed by choice, not by circumstance.
Frequently Asked Questions
Will my regular phone number still work with an eSIM in Norway?
Yes, your regular phone number will continue to work for calls and texts as long as your physical SIM is active and you've configured your phone to use the eSIM for mobile data only. This allows you to receive calls or messages on your home number without incurring expensive roaming data charges.
What kind of coverage can I expect in remote Norwegian fjords?
In truly remote fjord areas, coverage can be patchy or non-existent. Major towns like Tromsø or Bodø have excellent 4G/5G. As you venture out, expect 3G or even 2G in smaller villages. Always download offline maps and critical information before heading into areas with known limited service, and consider a satellite communicator for emergencies.
Can I use an eSIM for calls and SMS in Norway?
Most eSIMs primarily offer data-only plans. Some premium packages might include a local Norwegian number for calls and SMS, but these are less common and usually more expensive. For most travelers, using Wi-Fi calling with apps like WhatsApp or Facetime over the eSIM data connection is the most practical solution for communication.
How much data do I need for a two-week trip to Norway's Arctic?
For a two-week trip involving navigation, social media, light browsing, and occasional messaging, a 5-10 GB eSIM package is usually sufficient. If you plan to stream a lot of video, work remotely, or upload high-resolution media, consider a larger plan of 15-20 GB to avoid running out of data.
Is it better to buy a Norwegian local SIM or an eSIM for a longer stay?
For stays up to the 90-day Schengen limit, an eSIM is generally more convenient and cost-effective, avoiding the hassle of local registration. For stays longer than 90 days (which would require a specific visa), a local physical SIM might be necessary, but this would depend on local regulations and your residency status.
Do I need an internet connection to activate my eSIM?
Yes, you need a stable internet connection (usually Wi-Fi) to download and activate your eSIM profile. It's highly recommended to do this before you leave your home country or while you have reliable Wi-Fi at an airport or hotel, rather than waiting until you're in a remote area.